Reminder: you can buy an Atzarin Accordion here: http://atzarin.com/eng/instruments/accordion/atzarin_accordion.html
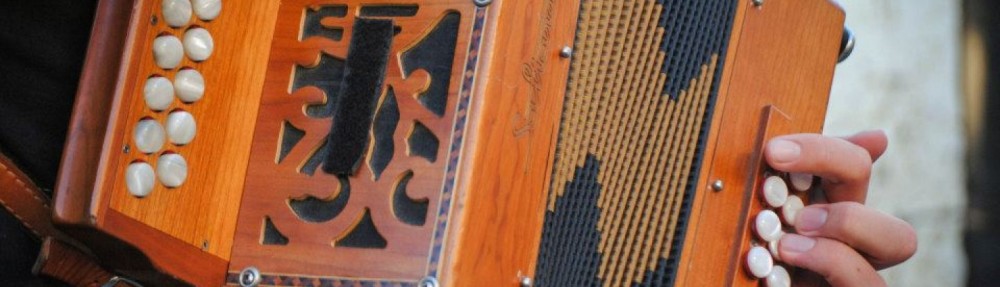
A little while ago, Sebastian, the inventor of the Atzarin layout lent me an Atzarin Accordion to have a go on. I posted a quick introduction to the system and also an Inside and Out on the accordion itself. This is the last part in the series and is an analysis of the Atzarin System in its entirety.

The Atzarin Accordion Layout
The first thing to note about this system is that it is bisonoric (like the melodeon) and chromatic (like the chromatic button accordion [CBA]). By this I mean that it makes a different note on push and pull of the bellows and that the most meaningful scale to assign to the instrument is the chromatic scale, rather than a collection of diatonic or hexatonic scales.
Each row consists of a diminished scale (made up of minor thirds), with a semitone difference between push and pull. Each row is separated by a major second going up from inside to outside (and diagonally towards the chin of the player).

B system (from Wikipedia.org)

C System (from Wikipedia.org)
It is interesting to compare this to that of a CBA. The CBA has two commonly used and related layouts – B system and C system. Schematics can be found on the Wikipedia page here or to the side. Both of these layouts consist of three rows of diminished scales, but unisonoric (or the same on push and pull). The C system has each row separated by a major second going up from inside to outside (and diagonally towards the knee of the player). The B system has each row separated by a major second going up from outside to inside (and diagonally towards the knee of the player). Therefore the Atzarin system is distinct from both of these systems, as the relationship between the rows even on one direction of the bellows is not the same.
The second thing to note about this system is that it is fully reversible – for every octave, the player has the option of playing every note on push or pull. This means that all chords are possible.
For the next part I am going to label the rows as I (Inner, closest to the bellows), M (Middle) and O (Outer, farthest from the bellows). I will label the buttons from 1 onwards, where 2 is the second button of I and M and the first button of O (see the layout above). Push is ^, Pull is _.
The standard major scale pattern has quite a pleasing symmetry to it. Take A major. Start with A on I3^ and continue to M3^, I4_, M4^, I5_, M5_, M6^, M6_. The pattern then is push, pull, push, pull, pull, push, pull and it uses only two rows of the instrument (starting on the push on the inner of the two rows). This pattern can be used for A, B, C, D, D#, F, F# and G#.
Let us try A major starting on the pull. Start with A on M2_, then continue with M3^, O3^, M4^, O4^, M5_, O5_, M6_. The pattern here is pull, push, push, push, push, pull, pull, pull and again uses only two rows of the instrument (starting on the pull on the inner of the two rows). This pattern can be used for A, A#, C, C#, D#, E, F# and G.
There are actually two more major scale patterns involving only two adjacent rows, one starting on the push on the outer of the two rows and one starting on the pull on the outer of the two rows. Each of these scales is good for eight keys. I am discounting the patterns for the outer and inner rows, as these are unwieldy to the extreme.
A little thought will show that there are therefore three possible major scales for 8 keys and two possible major scales for four (A#, C#, E and G). This means that the layout is not quite isomorphic – there is not one single pattern which can be used for every key. But any of the four patterns can be used for eight keys. The middle row is the key – there are more fingering possibilities for the notes which feature on that row than for any other. This is true of any regular three row system (and if it isn’t, please let me know!). The instrument would be isomorphic with an additional row, which would duplicate the outer row but shifted. Obviously the fingering is constant over each octave, which is not true of the standard diatonic box.
I will leave it to the interested reader to figure out the remaining patterns and those for other modes…
This plethera of scales, caused by having reversals for every note, gives an insight into how the instrument might be played. I can imagine that hand shifting can be minimised, with the player choosing direction based on keeping the bellows at an appropriate length and what the music is doing.
Let’s look at chords. All chords should be possible on this instrument and it turns out to be the case. In fact, chord shapes are isomorphic, with the same shape giving a major chord both on push and on pull, no matter where on the keyboard you place it. All keys can be reached by a single shape on at least one direction of bellows. The chords of B, D, F and G# are available on both push and pull using this shape. The other keys are available on both directions using more awkward shapes. Again, having an extra duplicated row would make all keys equal. As for the rest of the chords, some are more awkward than others, but all are possible.
The fact that some chords will only easily be found on one direction of the bellows gives another hint as to how playing the instrument would go. Right hand harmony would be very possible, but would necessitate bellows directions in order to get the chord on the right direction.
So far so good. But is there anything about this layout which is significantly better than, say, the CBA, the BCC#, the G/C/Acc layout so beloved of French diatonistas, and the Loomes Chromatic?
Number of patterns to learn for a single scale:
- CBA – one (five row) to three (three row)
- Atzarin – two
- Loomes Chromatic – two
- B/C/C# – five
- G/C/Acc – >5 (varies on layout)
Minimum number of rows needed to play every scale:
- Atzarin – two
- Loomes Chromatic – two
- B/C/C# – two
- G/C/Acc – two (varies on layout)
- CBA – three
Reversals:
- CBA – 12 (unisonoric)
- Atzarin – 12
- B/C/C# – 8
- G/C/Acc – 8 (approx, varies according to system)
- Loomes – 6
Available chords (number of required patterns):
- CBA – 12 (1)
- Atzarin – 12 (2)
- Loomes – 12 (2)
- G/C/Acc – 10 (>2) (approx, varies according to system)
- B/C/C# – 10 (>2)
Ease of Chromaticism (subjective):
- CBA – Easy
- Atzarin – Easy
- B/C/C# – Medium
- G/C/Acc – Medium
- Loomes – Hard
Ease of Diatonicism in any key (subjective):
- Loomes – Easy
- G/C/Acc – Medium
- B/C/C# – Medium
- Atzarin – Medium
- CBA – Medium
There is no such thing as a perfect layout. Each layout will suit different people. I leave you to draw your own conclusions!
Unfortunately I am no longer in a situation where I can continue to learn the Atzarin Accordion. If there is anyone who would like to give it a go, Sebastian is happy to lend my example to you. Please let me know if you are interested.
